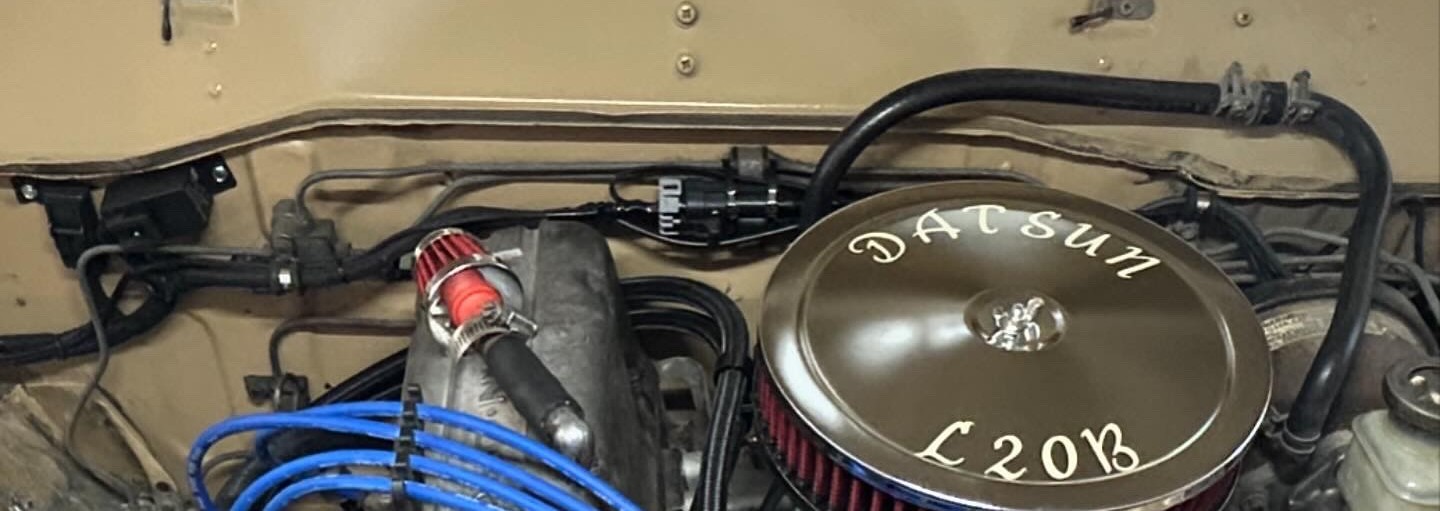
1978 Datsun 620 Holly Sniper 2300 Series Install
Here is how we did our conversion from a weber to the Holley Sniper 2300 Series.
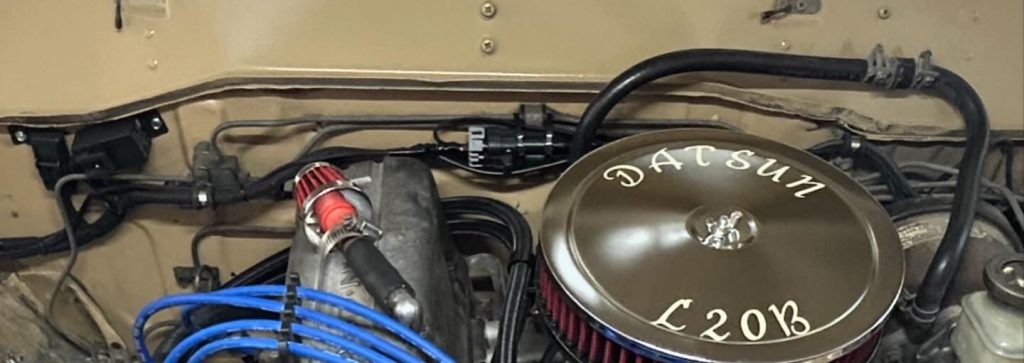
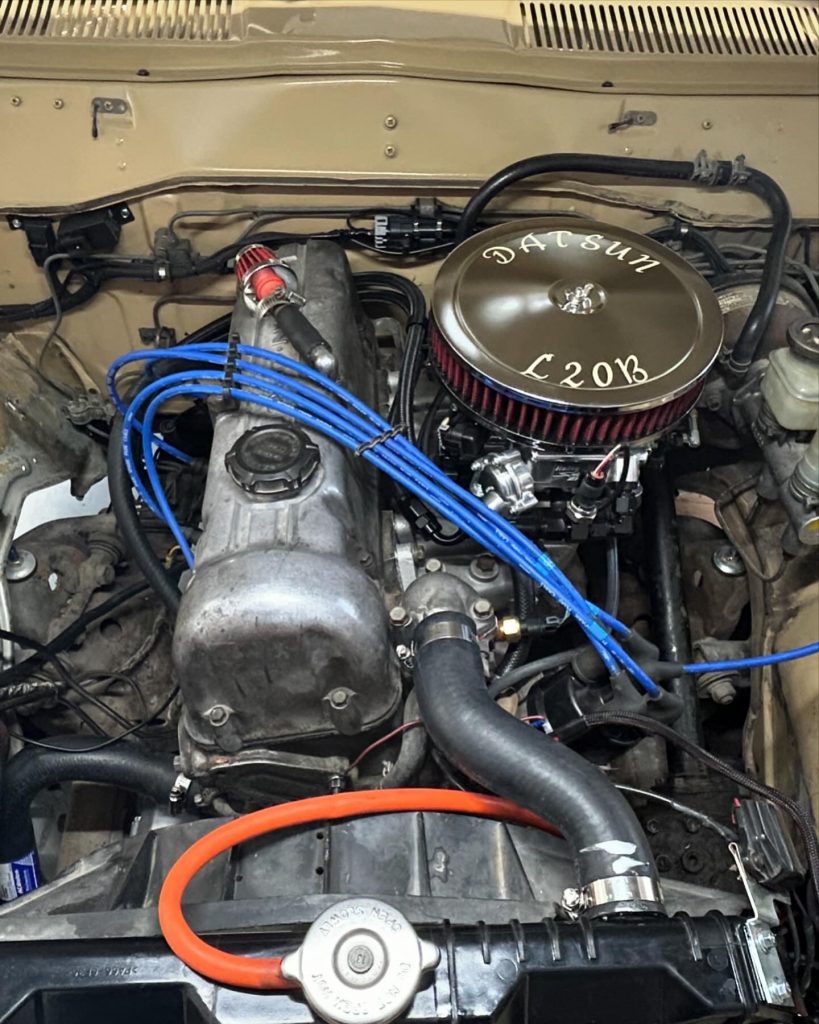
Intake Setup
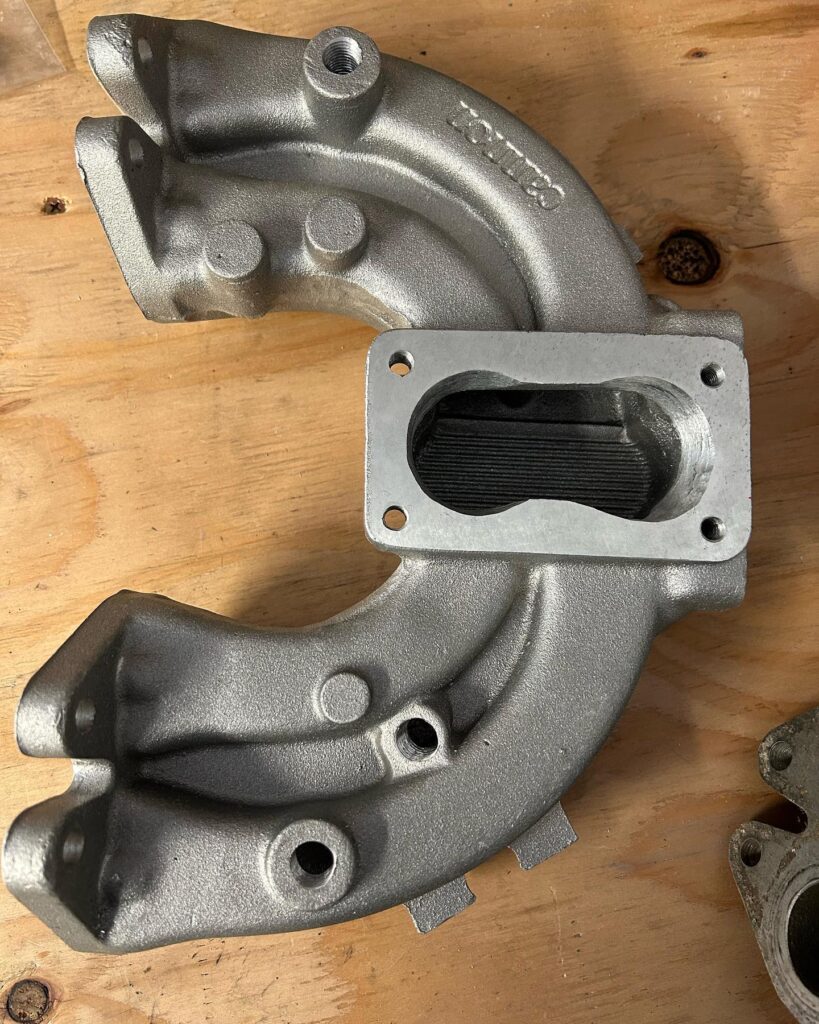
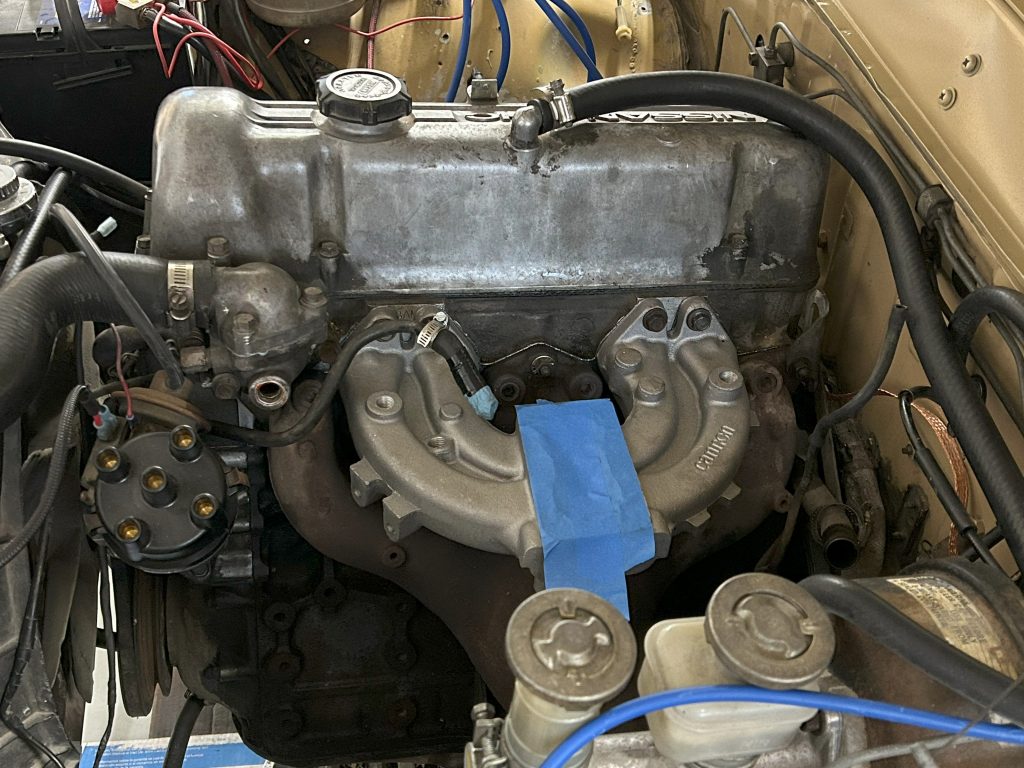
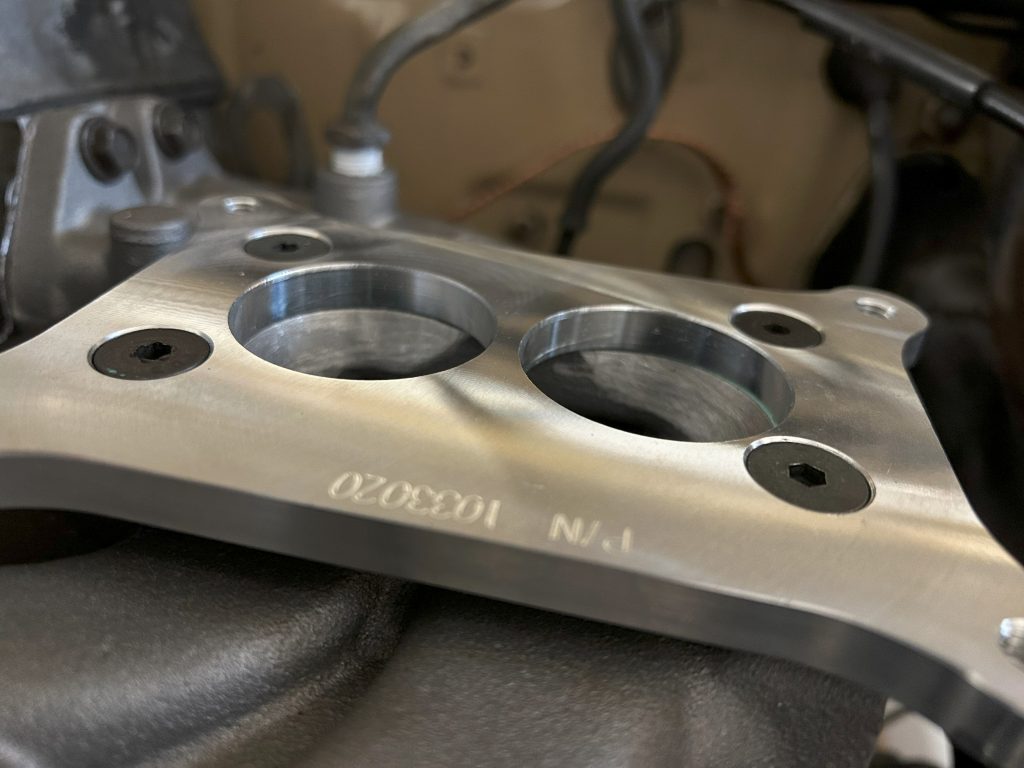
We ordered the CANNON MANIFOLD FOR WEBER DGV,DGAV,DGEV FOR DATSUN L SERIES from Pierce Manifolds. Also ordered Holley 350 / 500 to Weber Manifold Adapter Kit from LC Engineering.
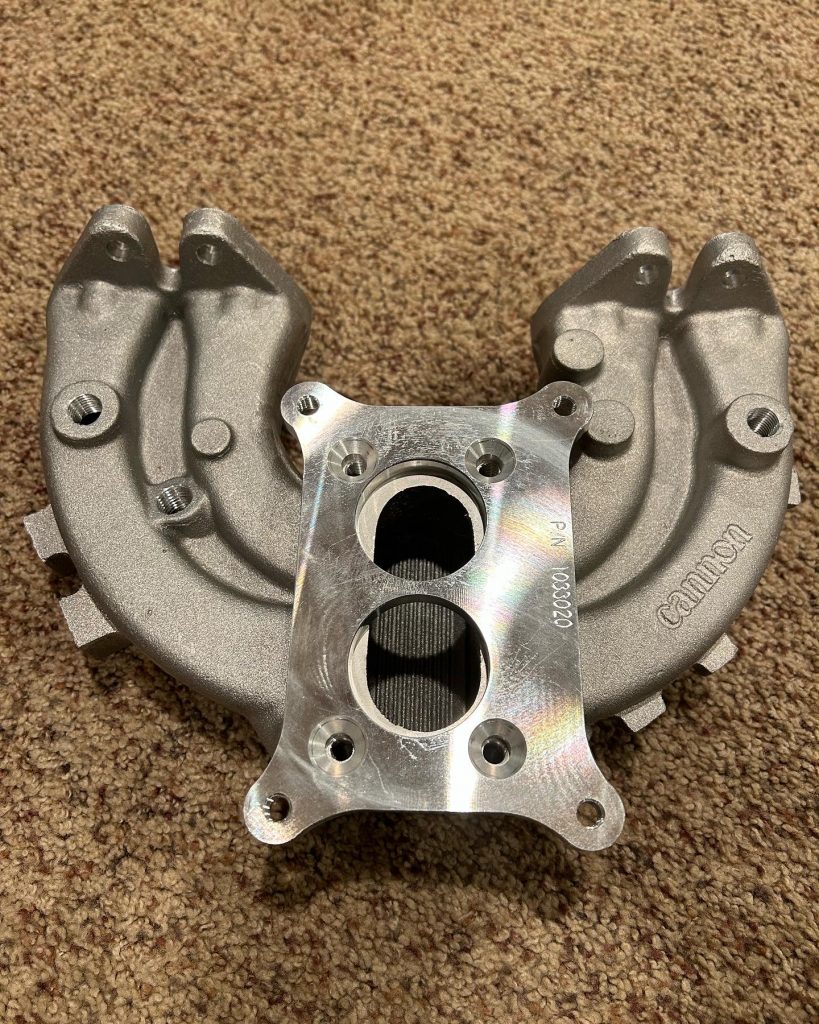
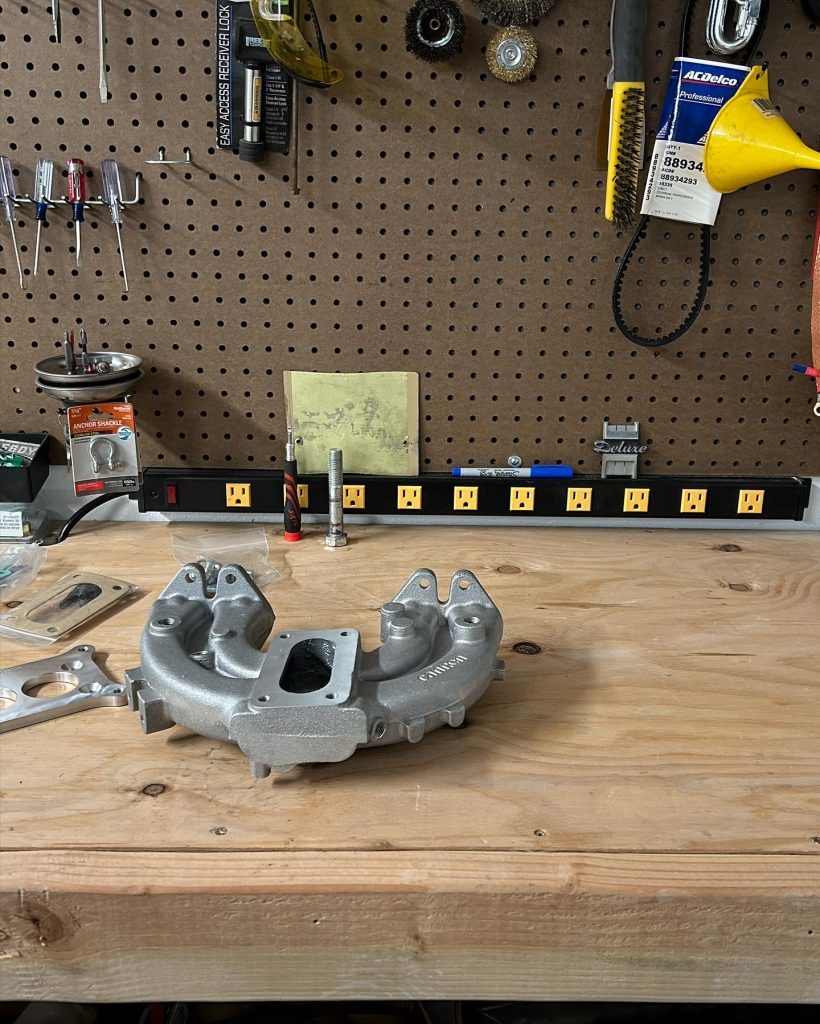
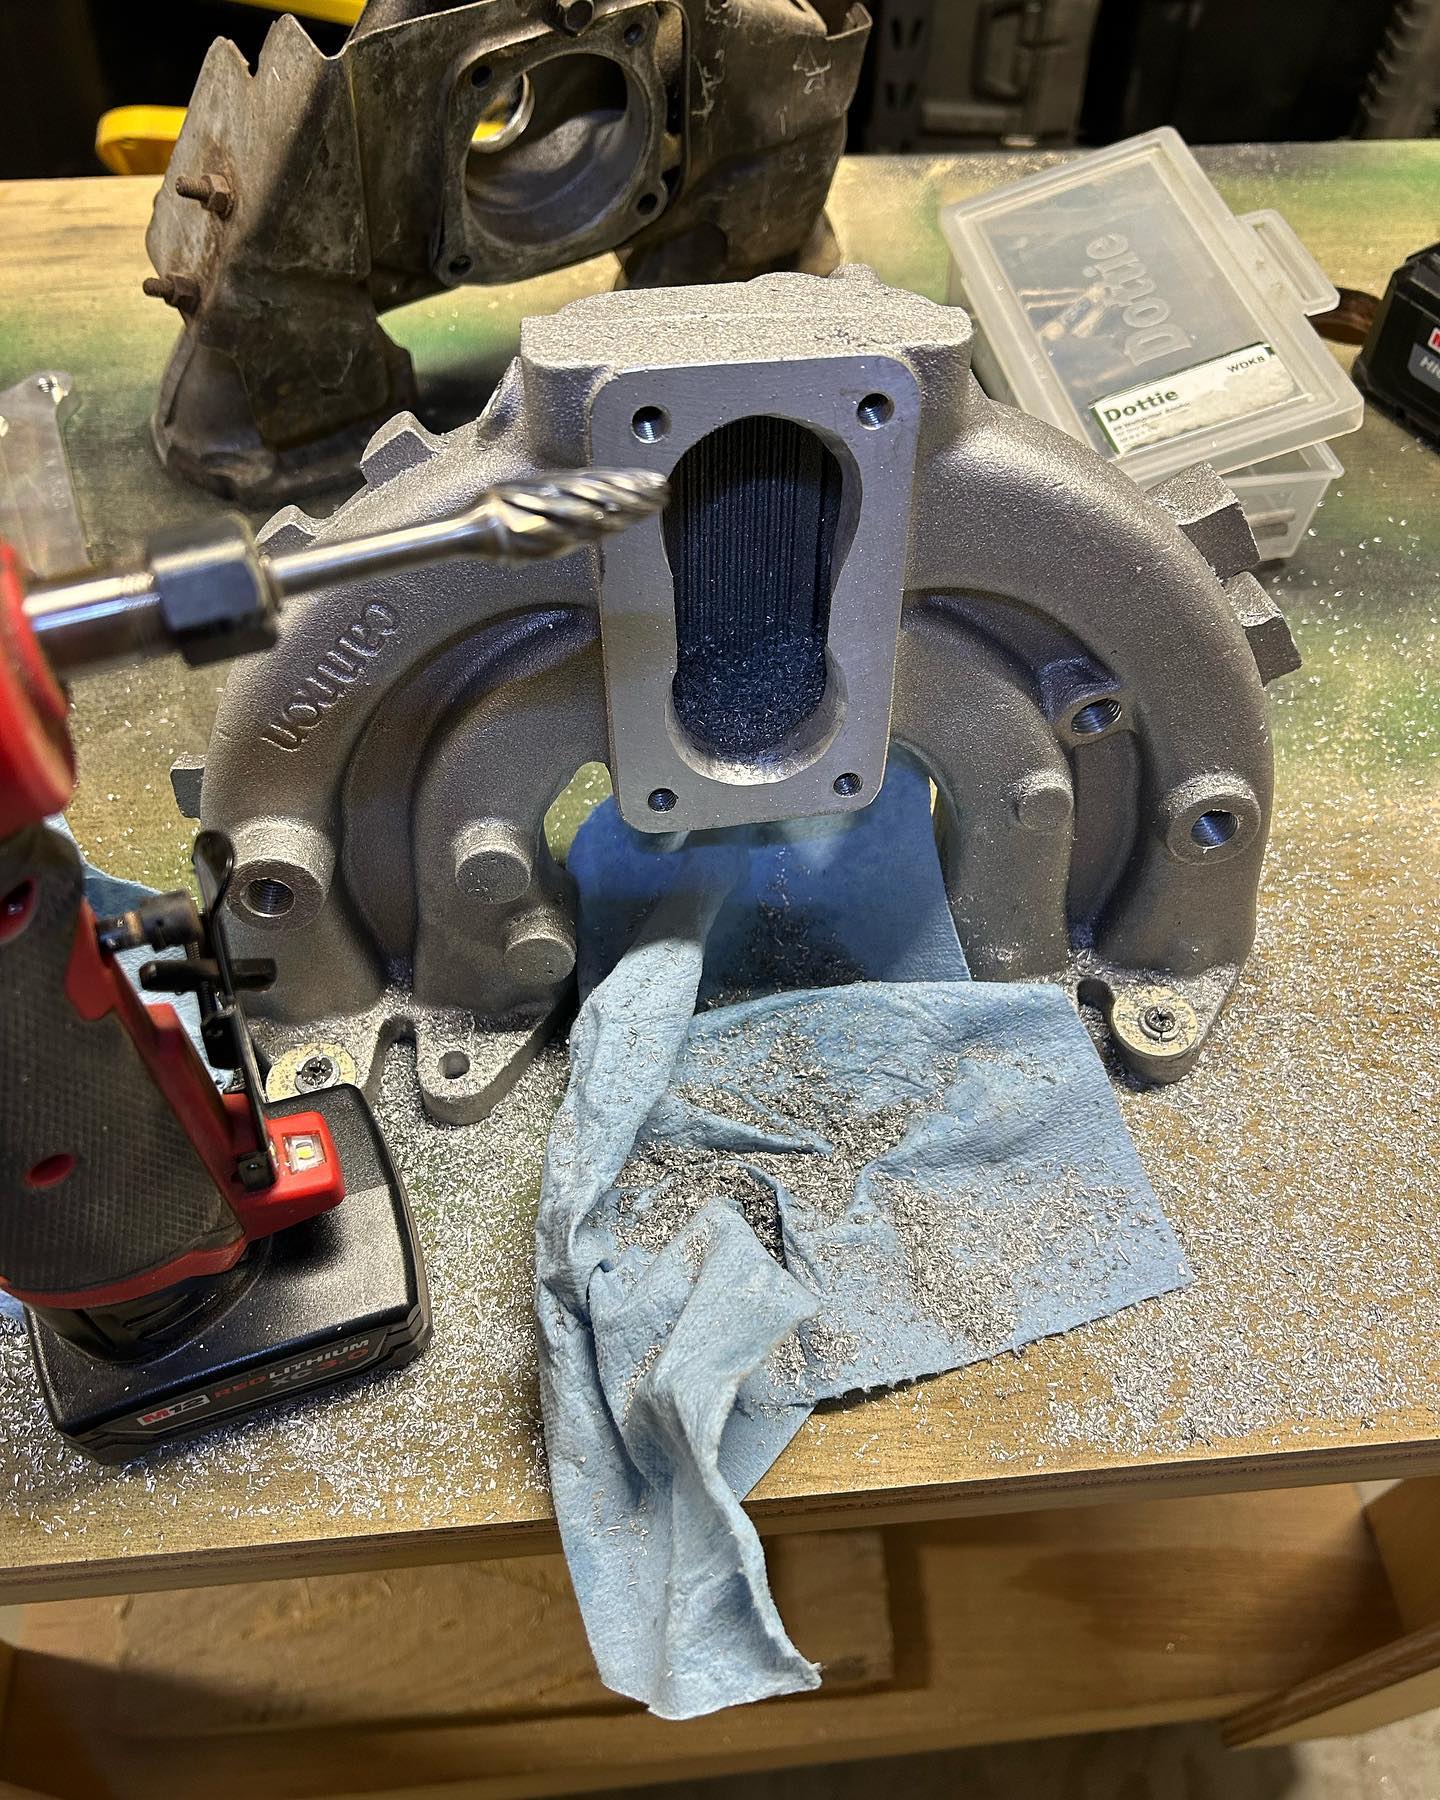
We had to match the ports on the adapter to the intake. Glitter Making time….

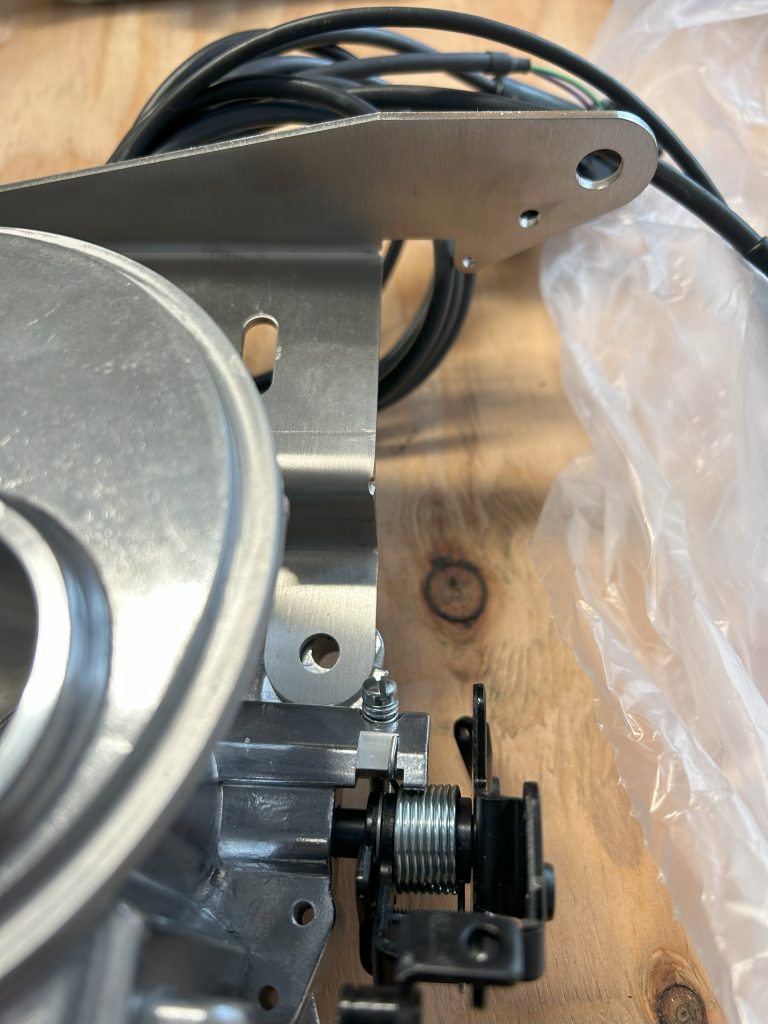
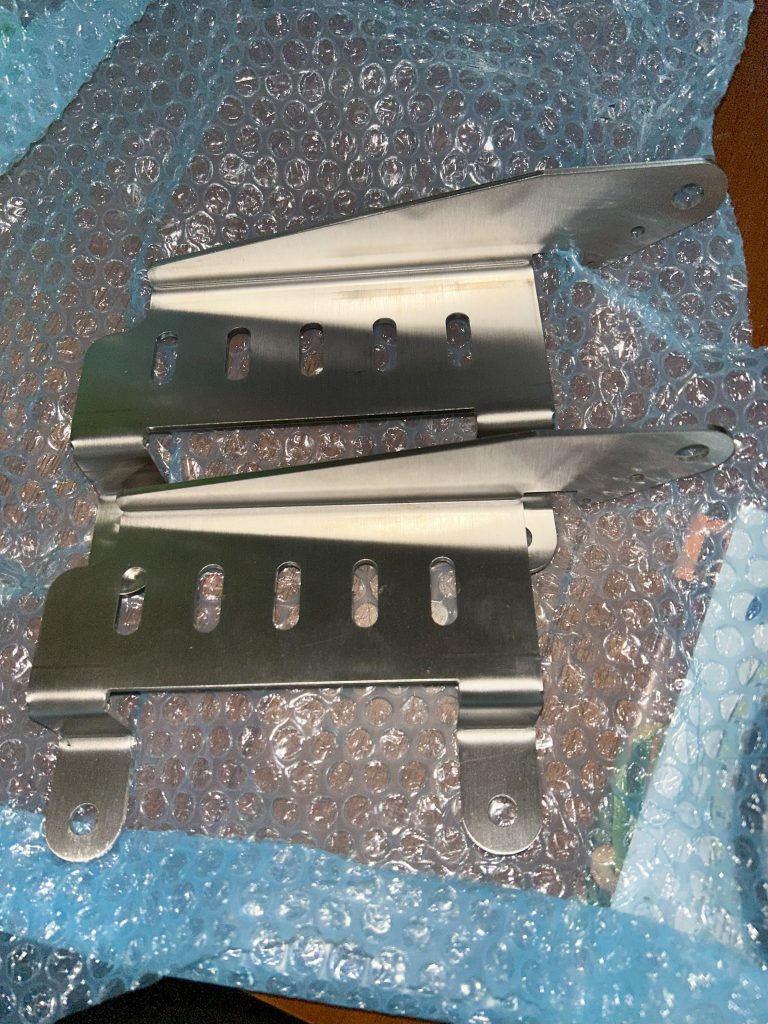
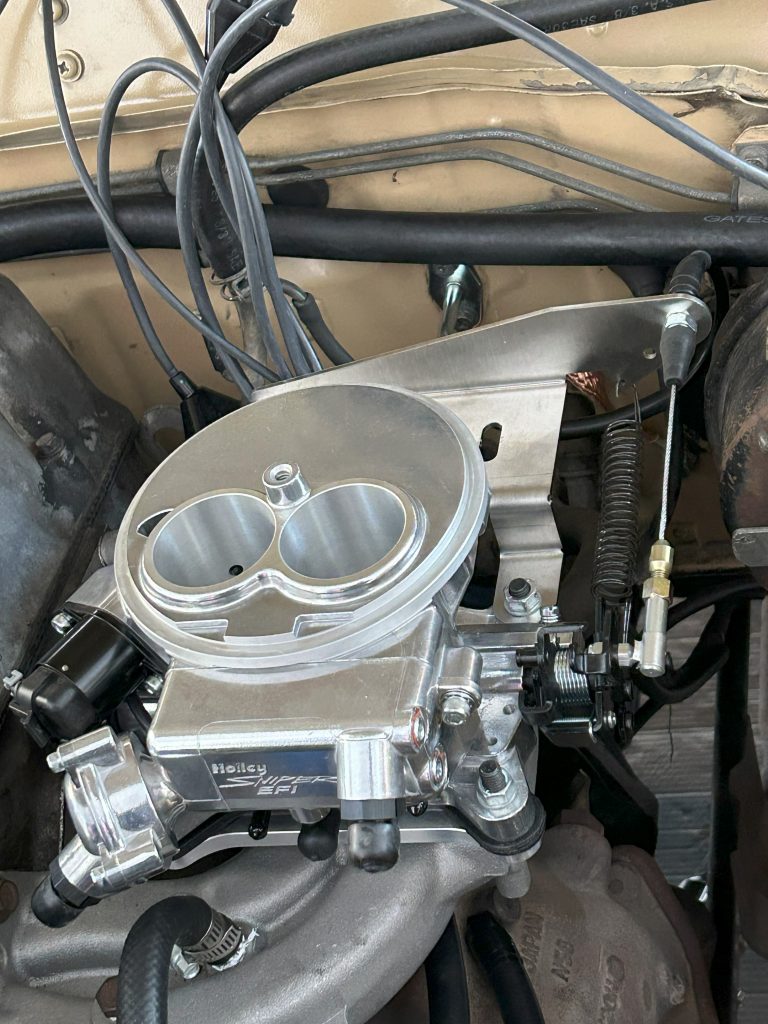
After all the finish work was done, I test fitted everything with the custom throttle cable bracket I ordered from Australia. Lol
IT was time to start removing the old carb and intake from the truck. Had to clean the old gasket off and get ready to install the new intake.
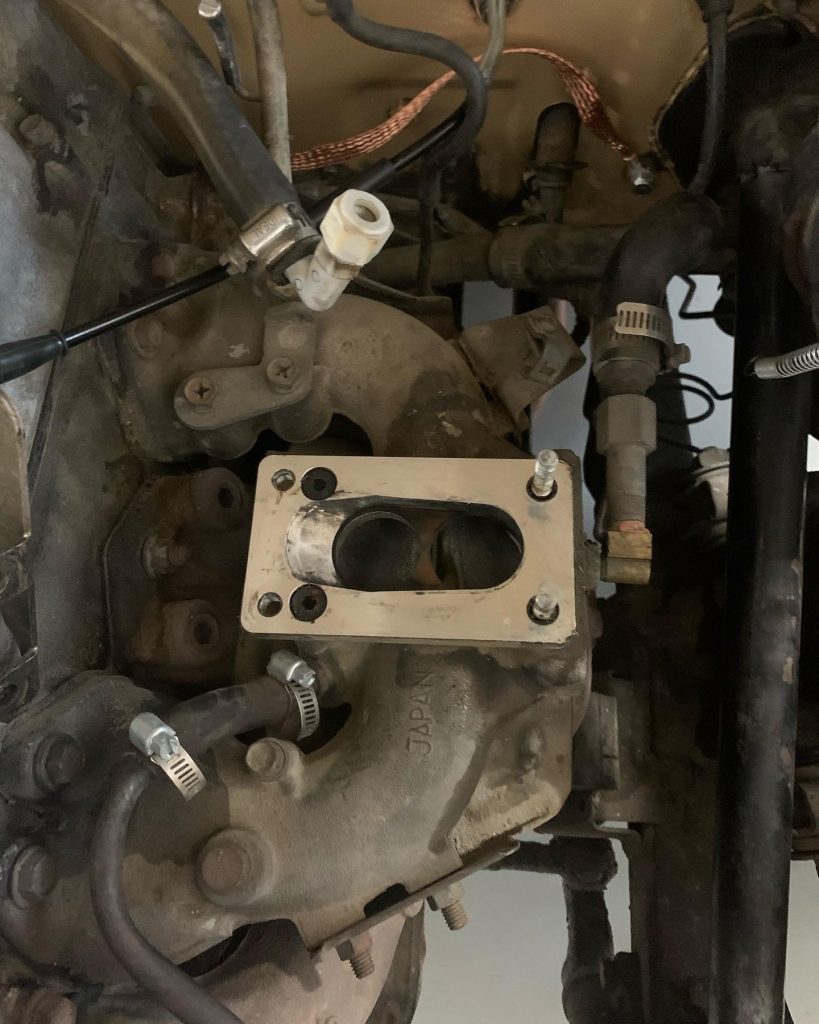
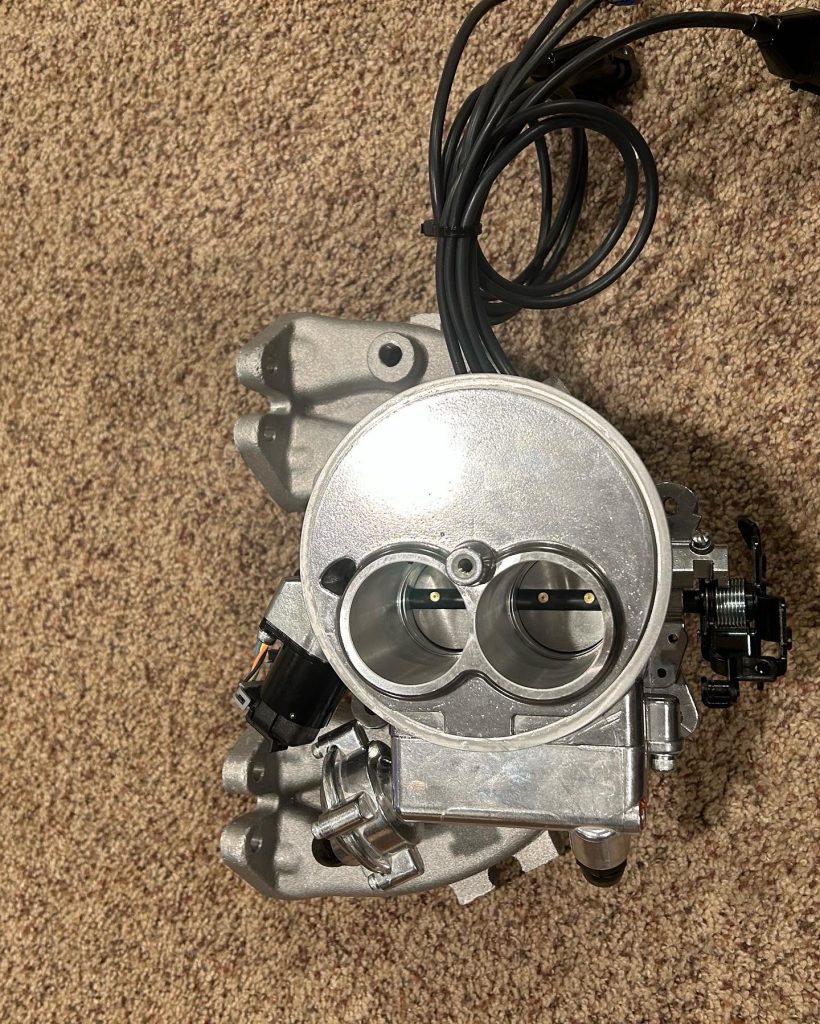
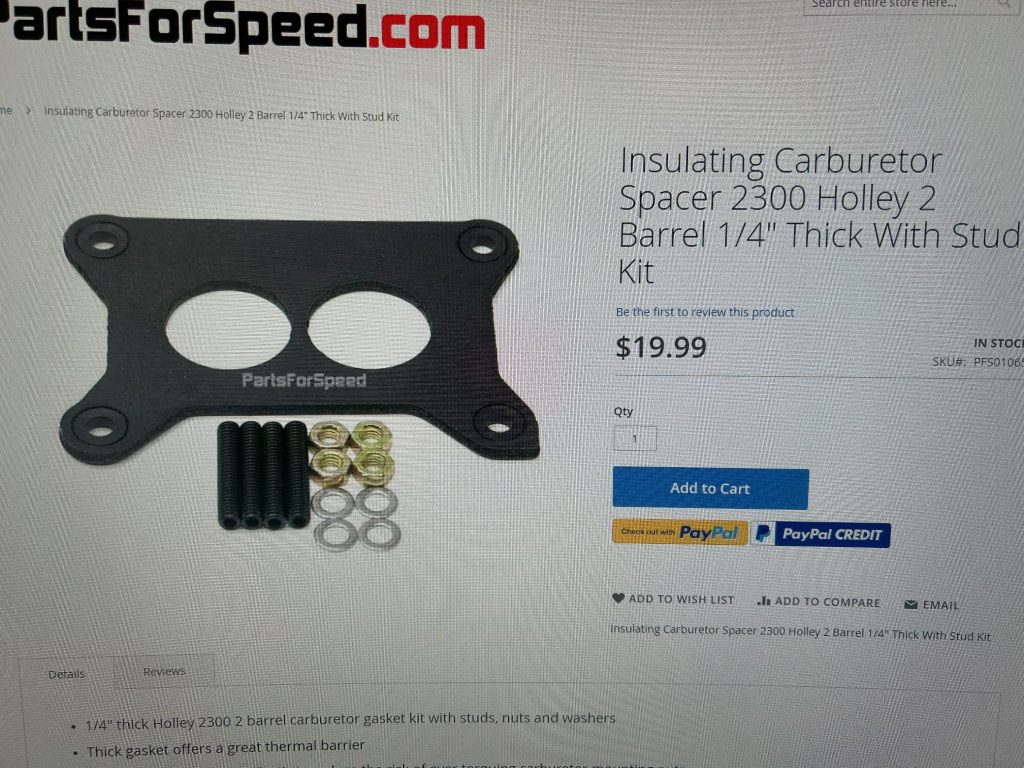
Once installed we got the adapter installed with all the gaskets. From our research on the Holley forms I needed an Insulator. We ended up using a ¼” Insulating carburetor spacer from Partsforspeed.com
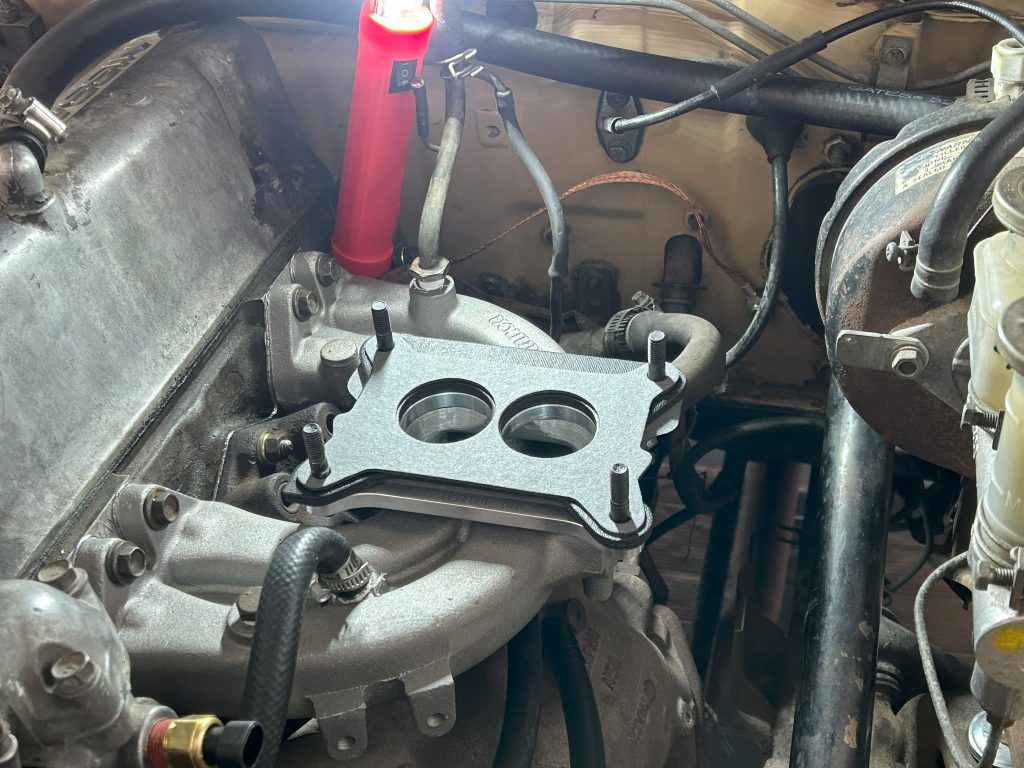
Now time to get the Sniper installed with the throttle cable bracket
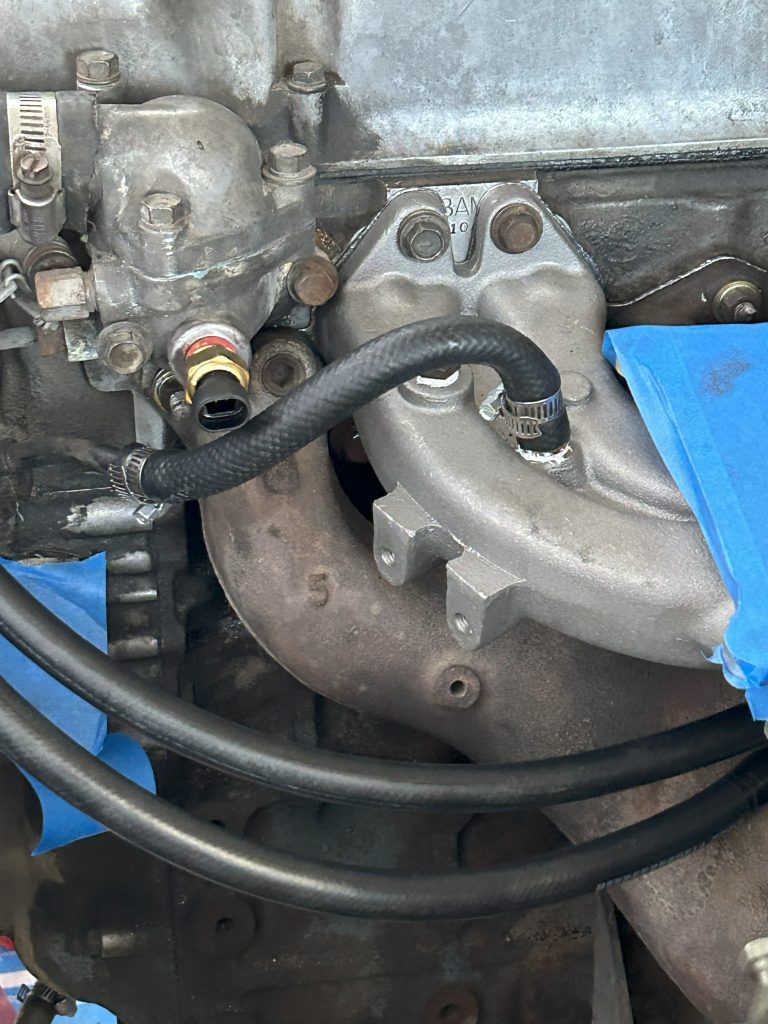
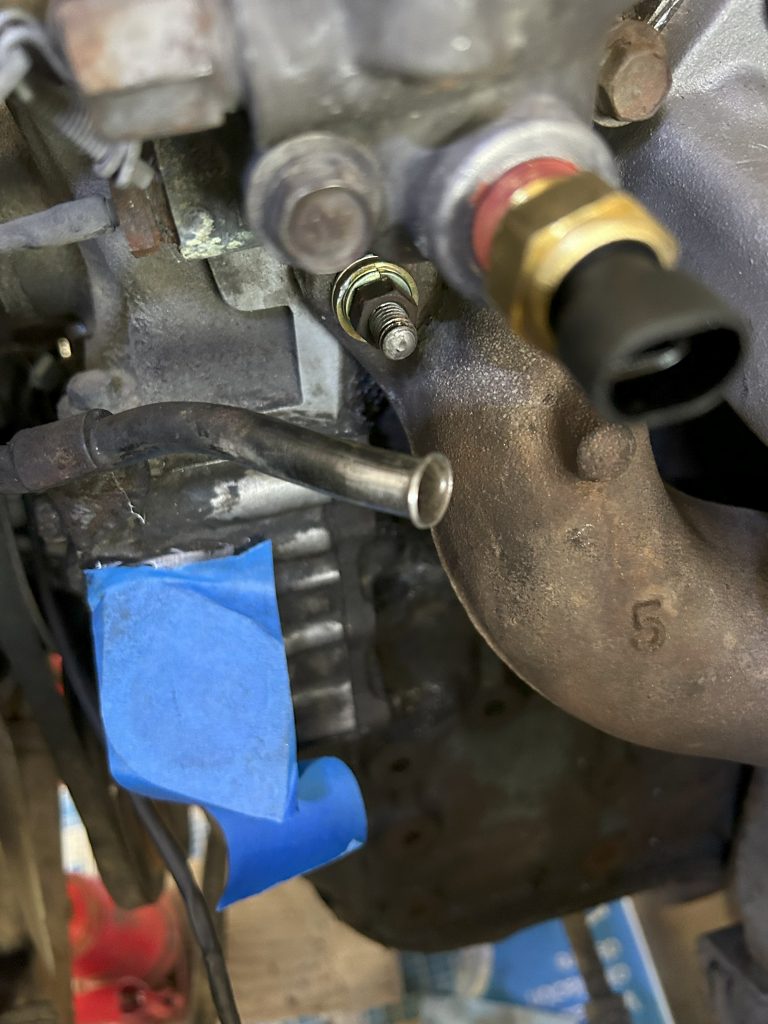
Once we got everything installed and set where it needed to be I found that the coolant line was getting kinked because of how the line ran on the new intake. I ended up shortening the coolant hard line and it seems to be working great now. Also, at that time I installed the coolant temperature sensor on the side of the thermostat housing.
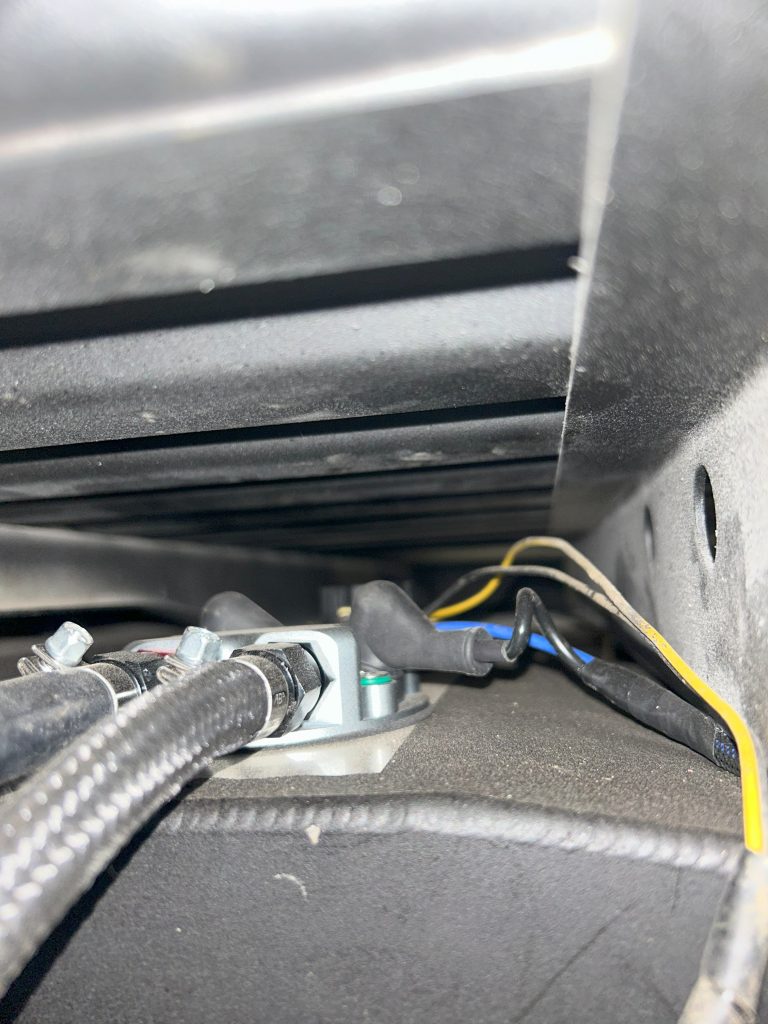
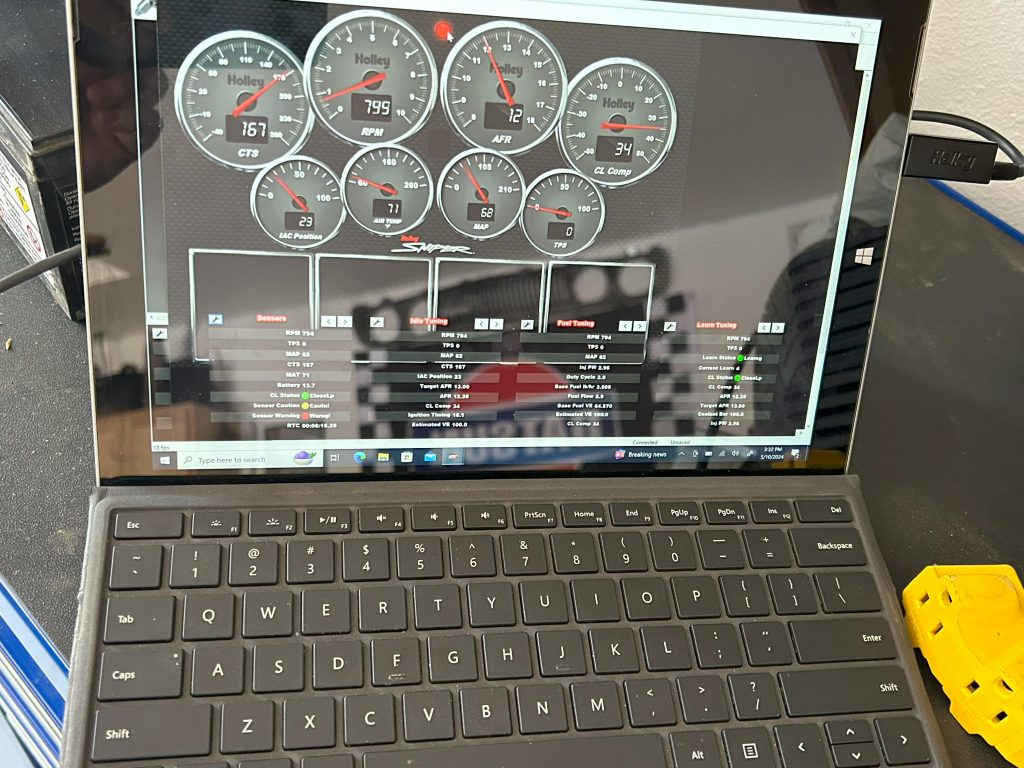
Time to get all the wiring done. This is where you need to take your time, and it will save you lots of headaches. I ran all the wires on the back of the firewall and used the loom to make it look better. When I ran the cables for the screen, I purchased a Y cable and the USB cable from Holley themselves. The aftermarket ones seem to break. This way I can use the screen and use the laptop app without having to unplug stuff. I used Solder Seal Wire Connectors from Amazon for everything on this truck. You get nice and solid connections. I added a couple more ground wires to the truck. That seems to be a problem with most of these installations. If you don’t have a good grounding system you will see odd things.
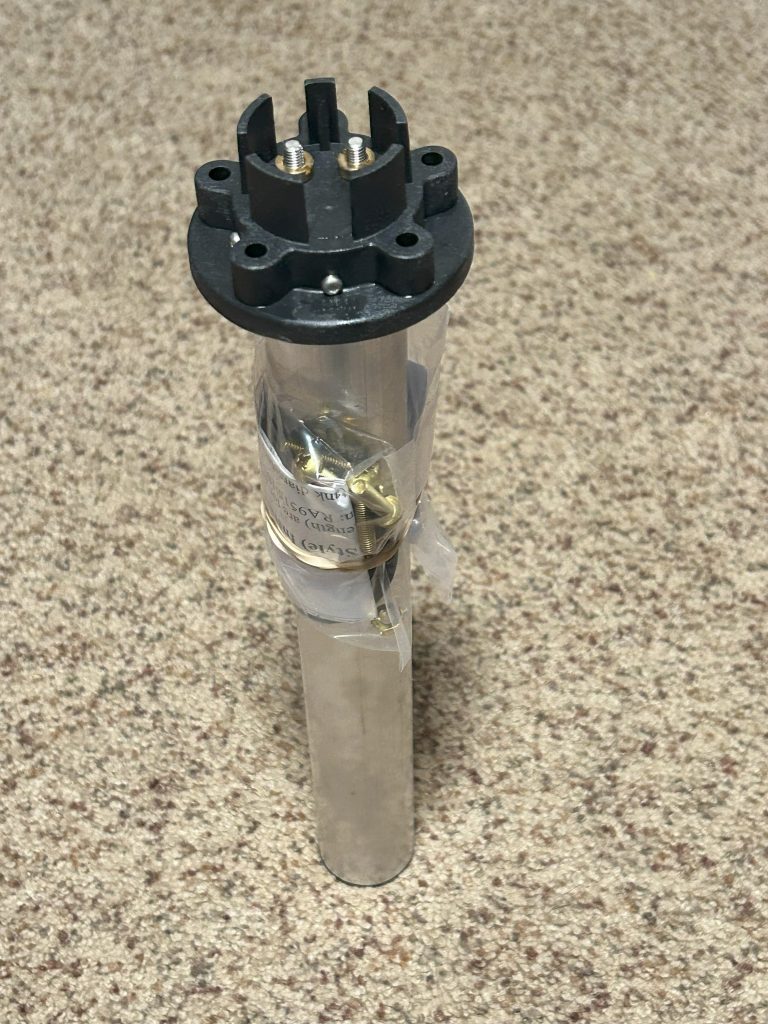
For the fuel system I did start with using the Holley inline pump setup and the stock fuel tank. It worked ok but the fuel pump you can hear from a mile away. We ran it this way for a summer while I looked around at different options.

For the fuel system I did start with using the Holley inline pump setup and the stock fuel tank. It worked ok but the fuel pump you can hear from a mile away. We ran it this way for a summer while I looked around at different options.
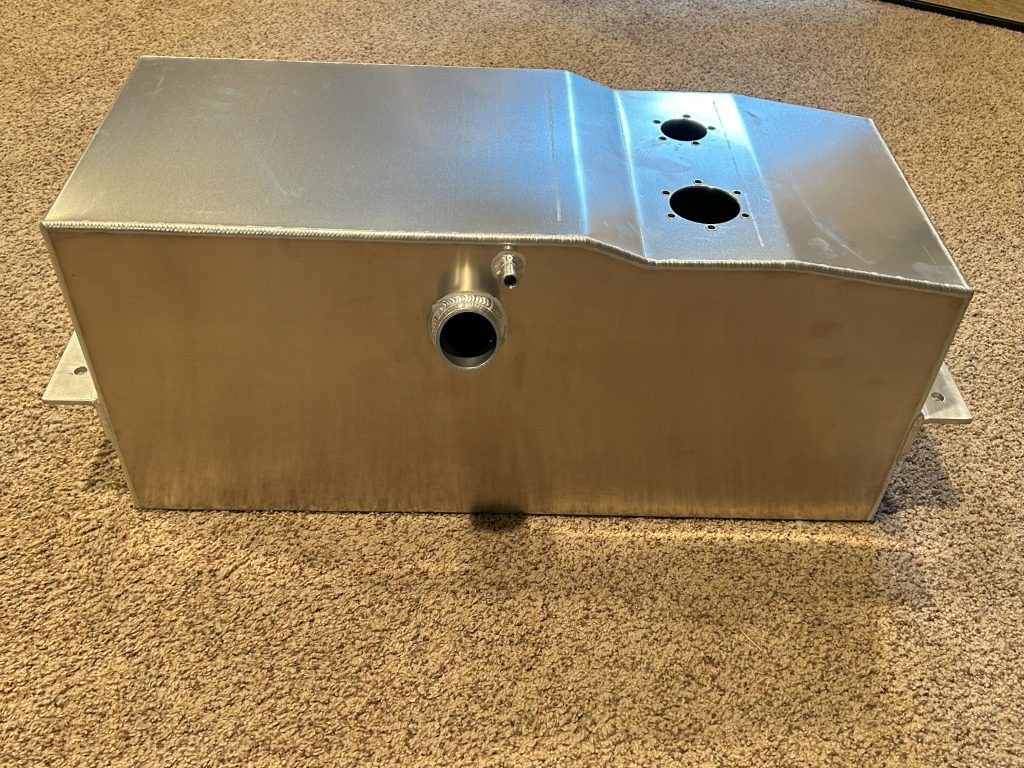
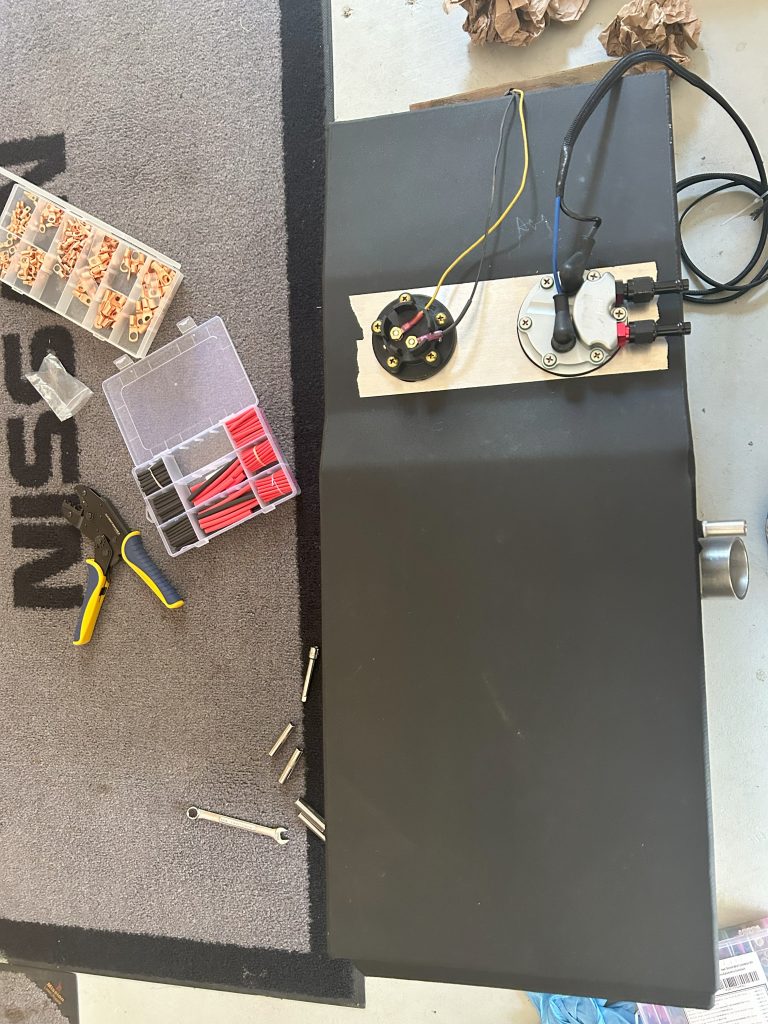
Yes, I can have more custom tanks made. We saved the templates. carl@benddatsun.com
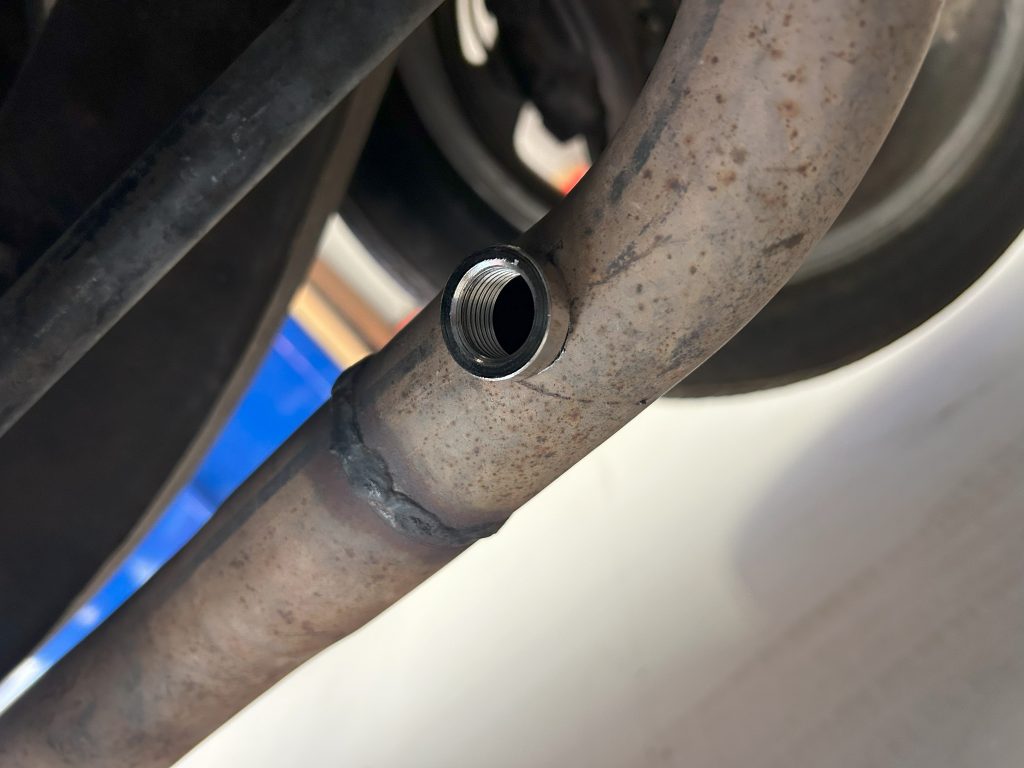
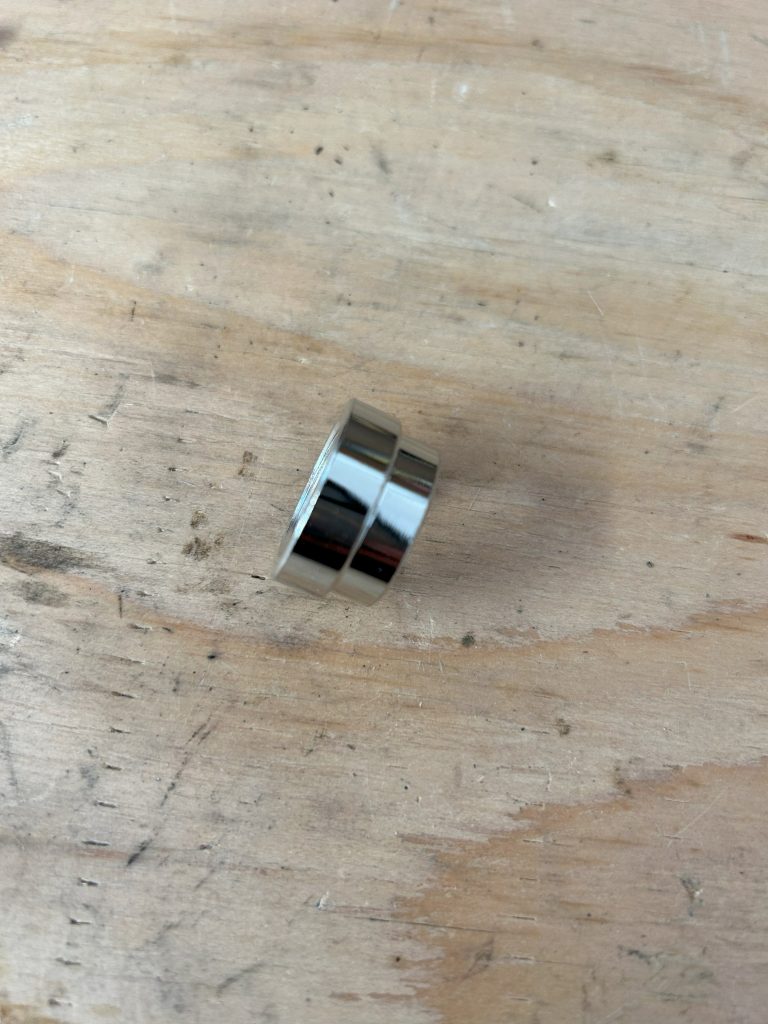
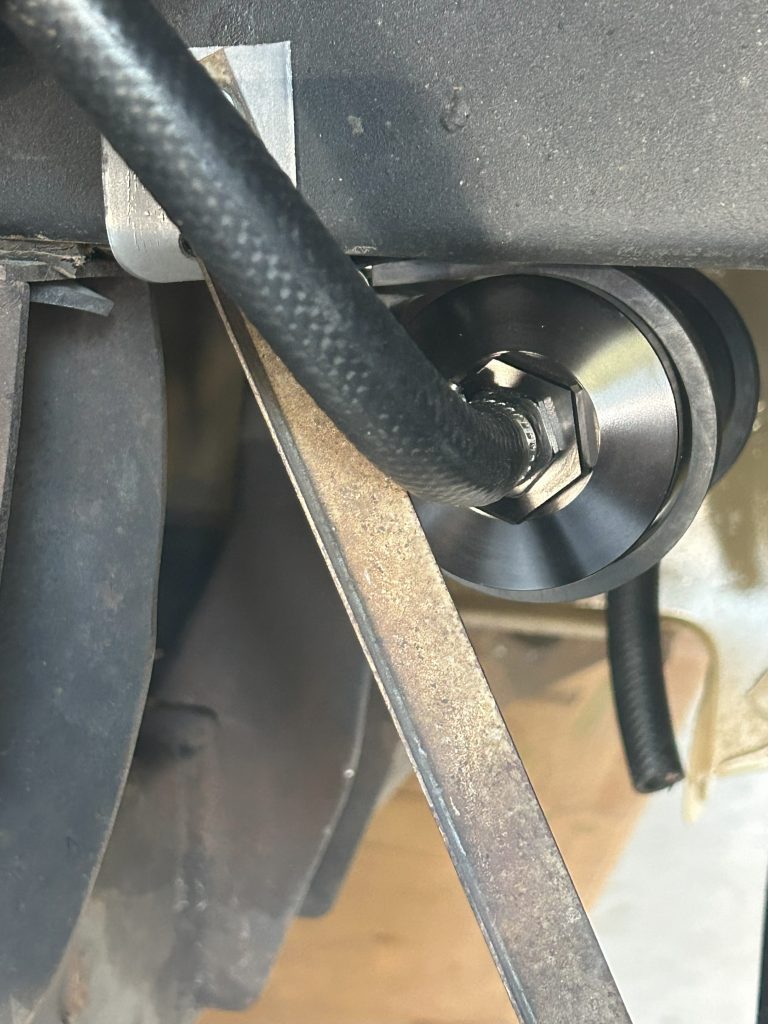
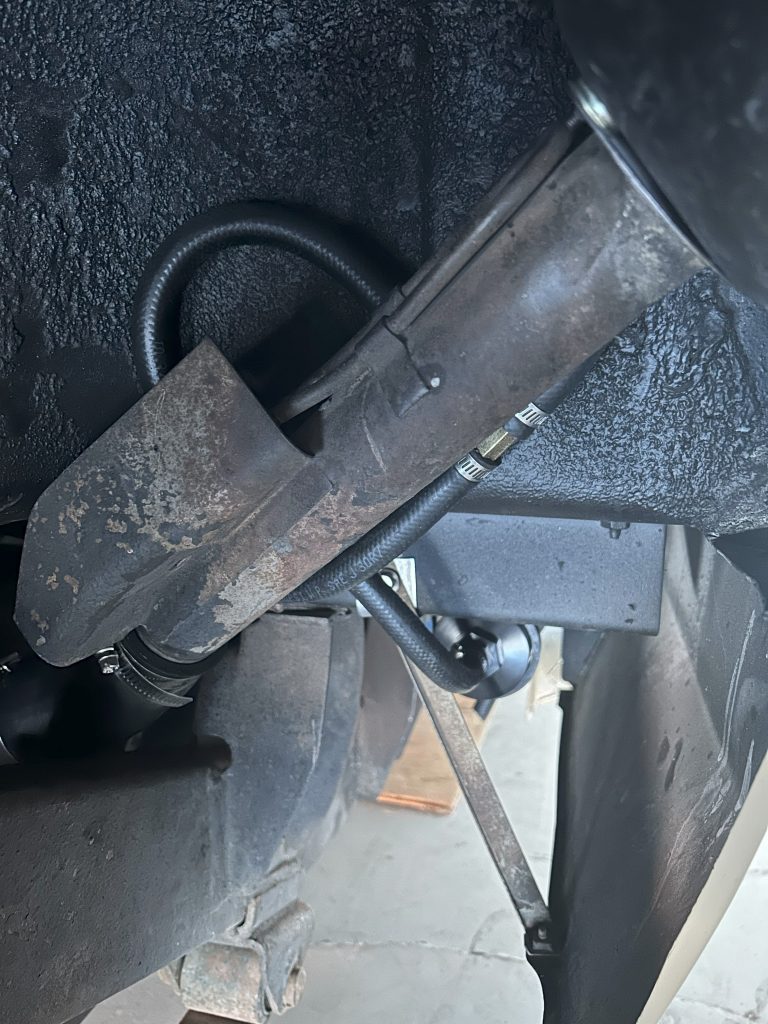
At first, we used clamp on adapter for the O2 sensor. It leaked and didn’t work out so well. So, we ordered a weld bung from amazon and had a friend weld it on for us.
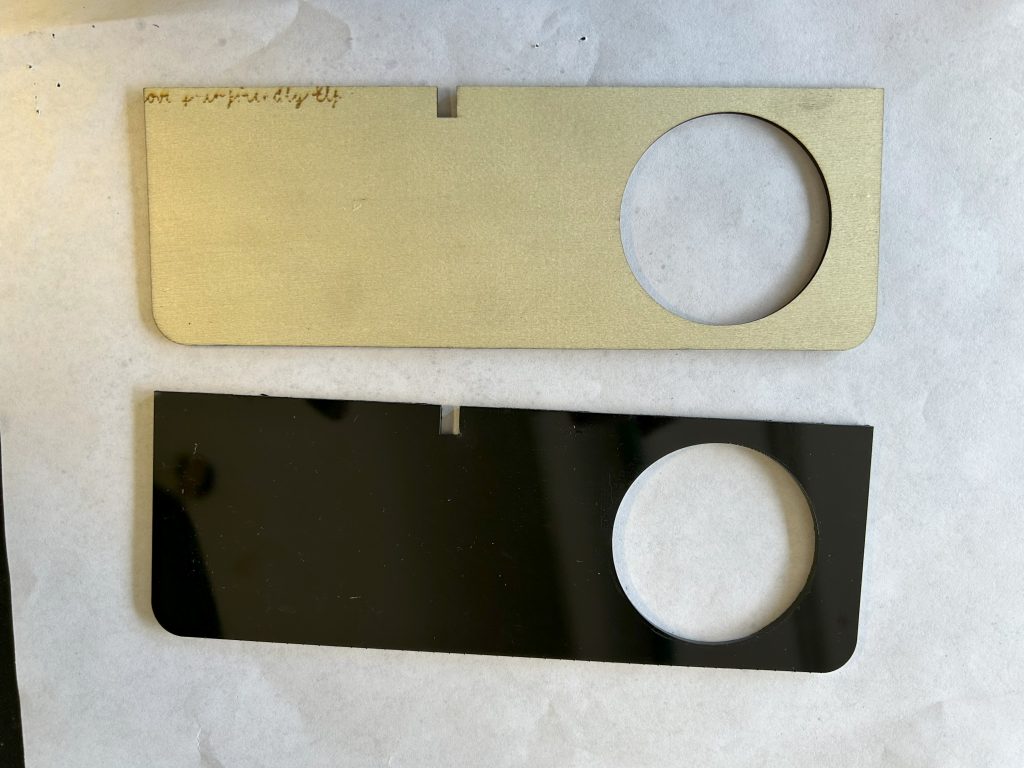
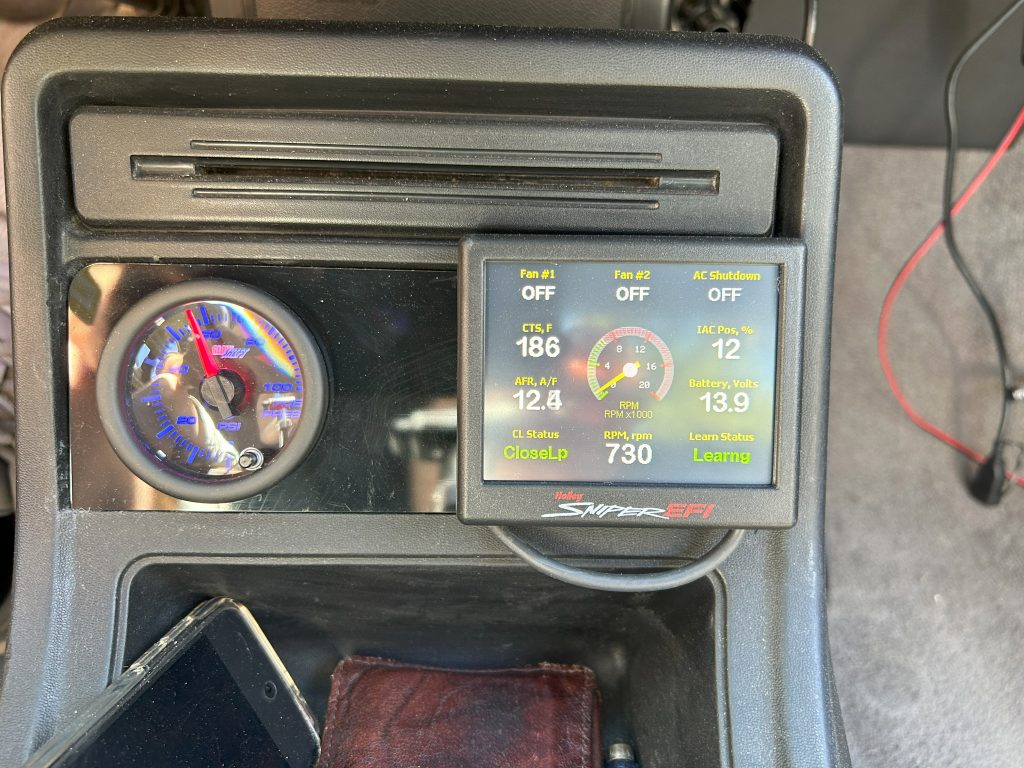
In the center council of the truck is where the sniper control screen is located with the fuel pressure gauge. I made this on our laser machine to fit into the radio slot.
We ran this all summer 2024 and didn’t have any hiccups. I updated the firmware on the handheld and the EFI unit. After the fuel system update to help get the system to run a little better. It seems to help and now we will have a tune built so we don’t have to be in learning mode. Should make the system more solid.
With the new gas tank venting system, we got some gas fumes into our garage after it sits for a couple of days. I ended up installing a Vapor Trapper to help with that. It works ok but not the best.
Later down the road I would like to upgrade the ignition system and get it integrated into the sniper system. Also add electric fans that are turned on by the relay system with the temperature settings. But I must research this and see if I can get it figured out.
If you’re looking for a new tank for the 78 – 79 Datsun 620 let me know and I’ll get a quote from the fabricator. Or if you have any questions, please reach out to carl@benddatsun.com
Thank you, Bend Datsun